Minor Projects:
|
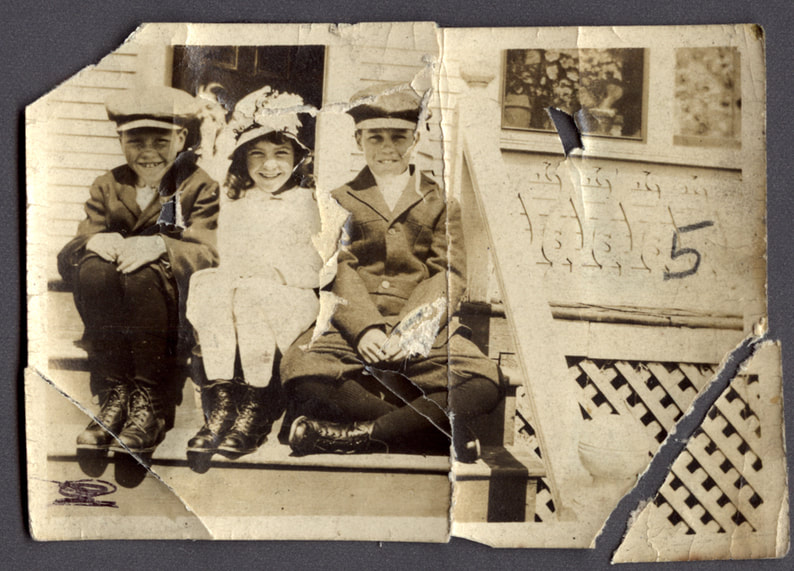
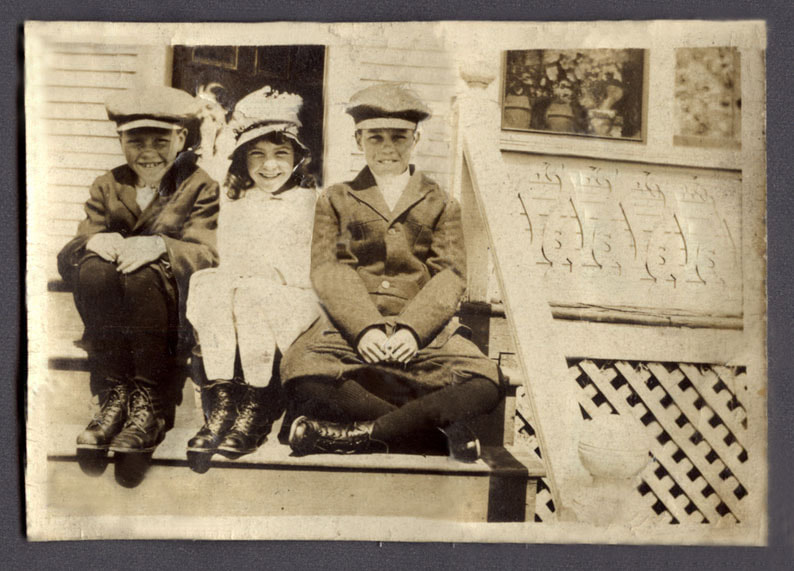
Three Kids on a Step
|
|
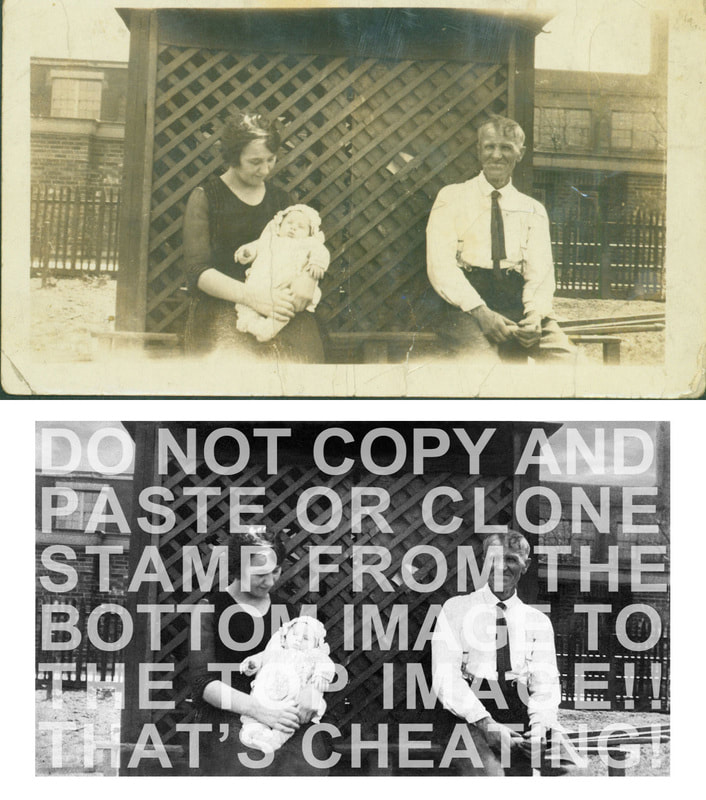
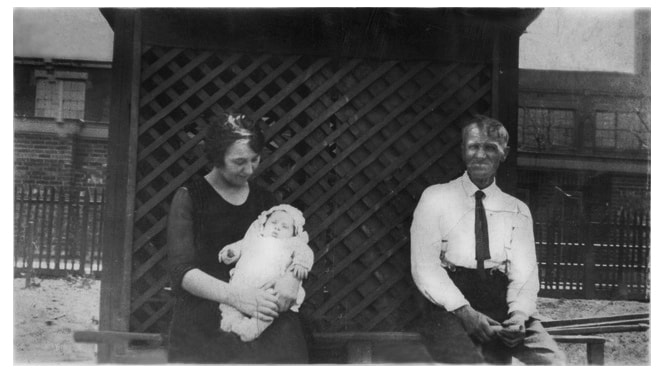
So, for the first minor project we had to prepare a torn picture of three kids on a step. As you can see to your left that is the torn, ripped, and broken picture . On the right is the fixed and corrected image after it has gone through the magic of photoshop.
Many photoshop tools were used to complete this minor project, the main one being the clone stamp. Which is definitely one of the main reasons this project was completed. Another toll we used was the magnetic lasso tool to which helped in bringing the bottom right piece of the original picture back up. A ew other tools were used but these two were definitely more important
Many photoshop tools were used to complete this minor project, the main one being the clone stamp. Which is definitely one of the main reasons this project was completed. Another toll we used was the magnetic lasso tool to which helped in bringing the bottom right piece of the original picture back up. A ew other tools were used but these two were definitely more important
Art Gallery

|
|
|
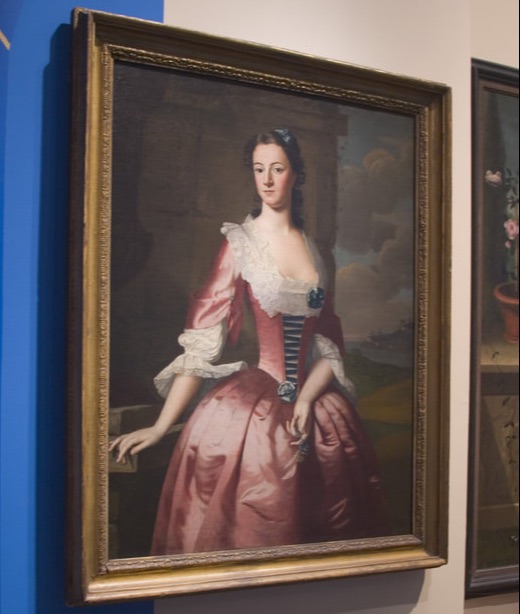
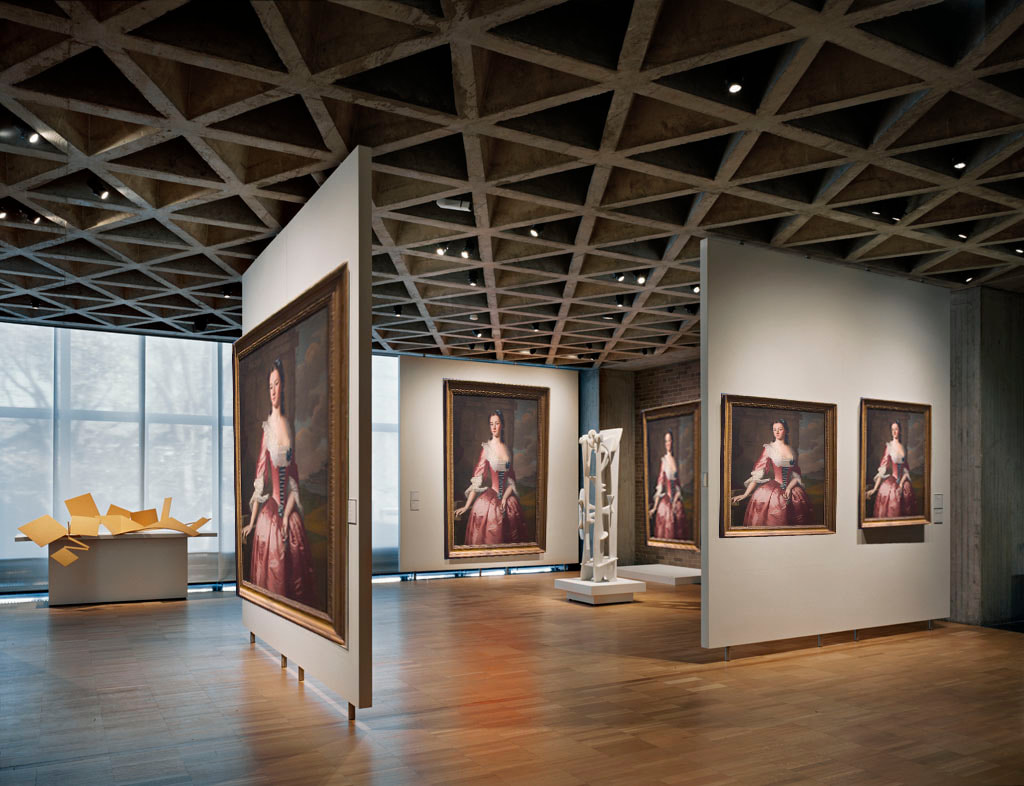
For our second minor project we were told to put the painting of a woman(see middle picture) and replace the images in a museum with the women. In the first picture on the left it is simply the plain old museum. On the far right is the image of the final museum, full of the lovely lady.
The main tool which we used for the creation of this project was the distort toll. The distort tool helped us in getting the picture of the women layered on top of where the pictures in the museum are located. The Distort tool made sure that the picture also remained the same and wasn't changed through the process
The main tool which we used for the creation of this project was the distort toll. The distort tool helped us in getting the picture of the women layered on top of where the pictures in the museum are located. The Distort tool made sure that the picture also remained the same and wasn't changed through the process
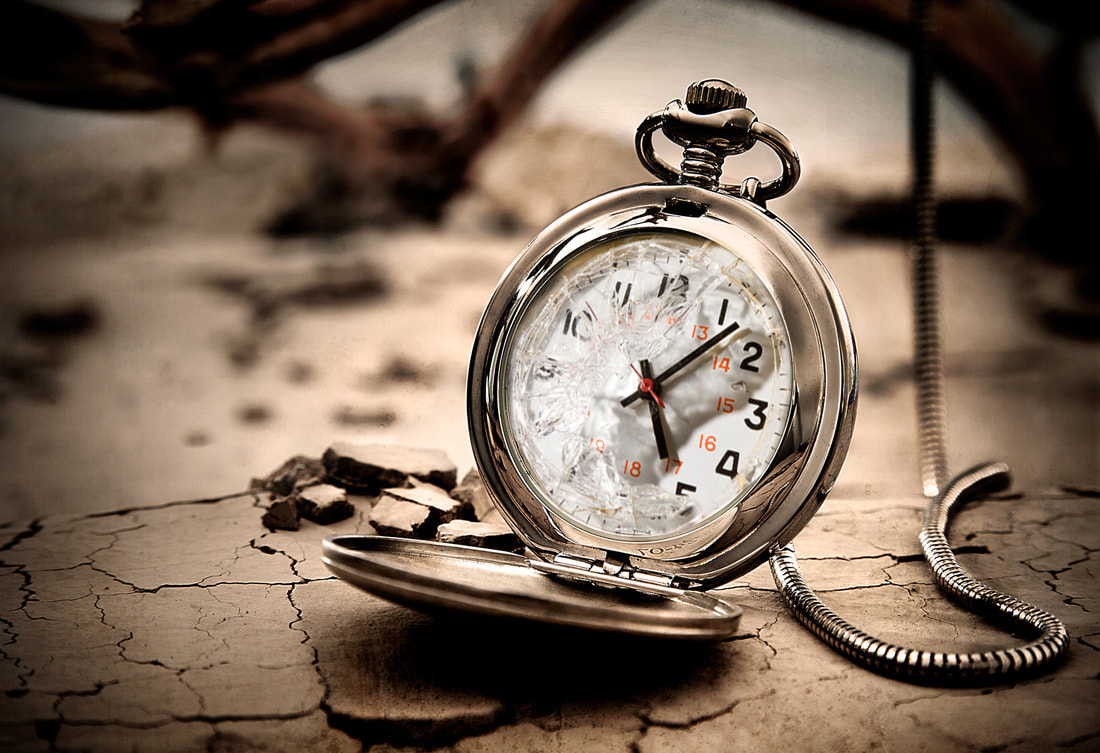
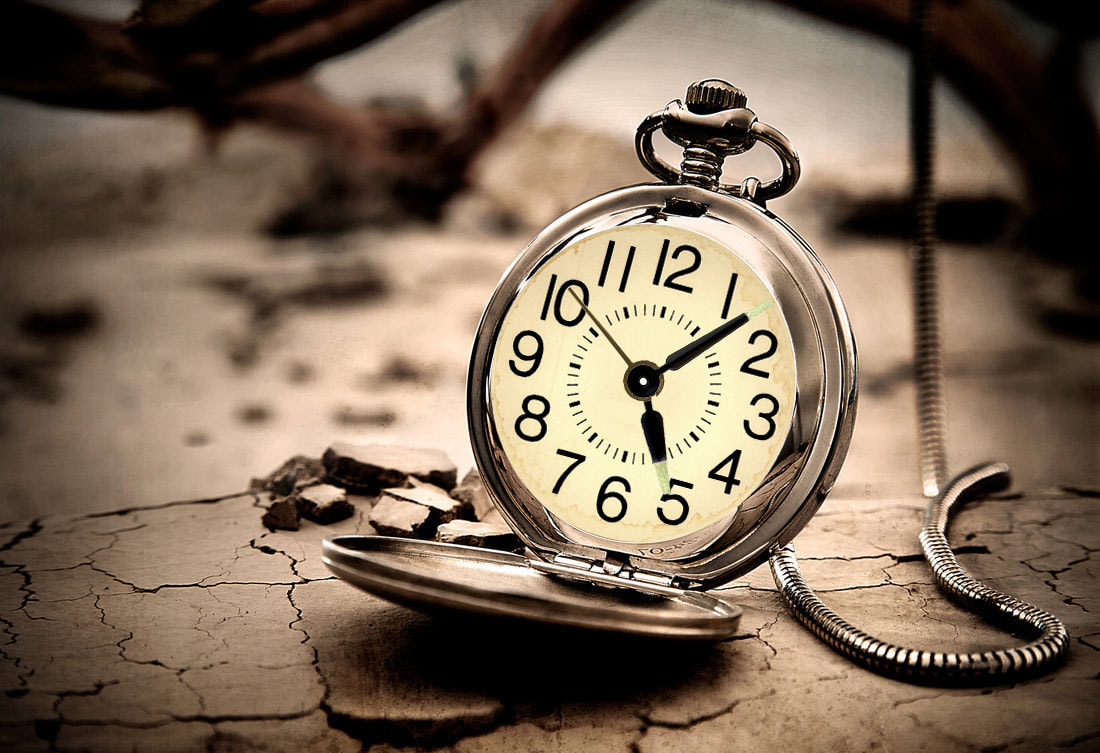
The Dropped Pocket Watch
|
|
For our third minor project we were given "The Dropped Pocket Watch" project. For this project we were told to take the picture of the broken stopwatch on the left and edit it into a new and fixed stop watch pictured on the right.
The main tool I used for this project was the magic wand tool. I use it to get rid of the white background of the new clock parts so they were much easier to move back on to the broken clock. From there I was able to put the new face and hands on the clock.
The main tool I used for this project was the magic wand tool. I use it to get rid of the white background of the new clock parts so they were much easier to move back on to the broken clock. From there I was able to put the new face and hands on the clock.
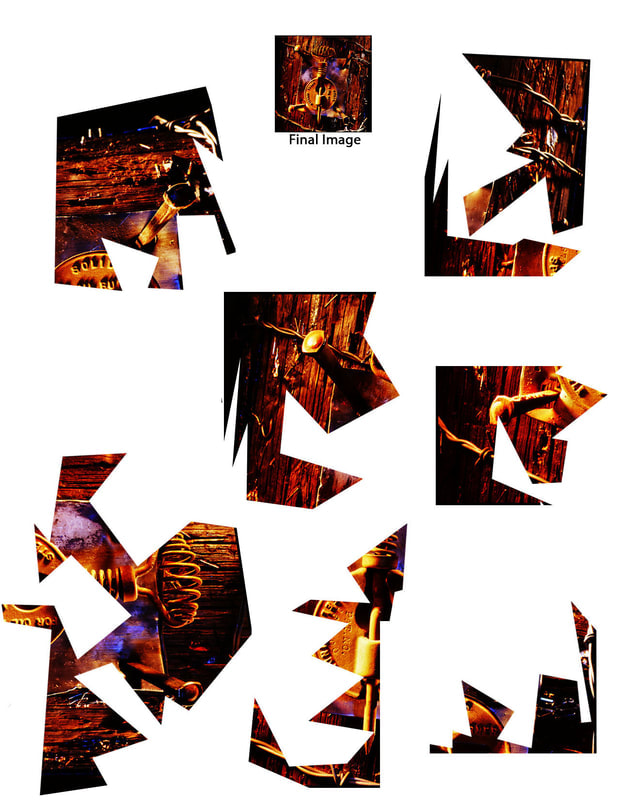
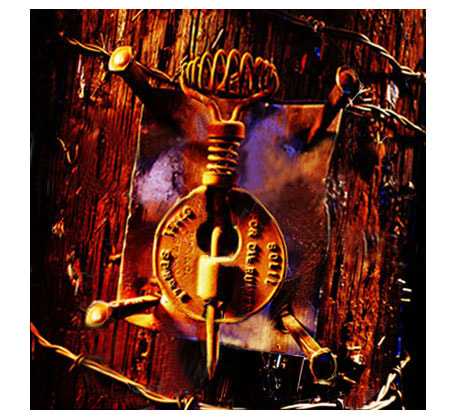
The Puzzle
|
|
For our forth Minor project we were told to take the many puzzle pieces pictured on the left and turn them back into the puzzle! However with the magic wand tool and a little bit of the clone stamp turns out this minor project wasn't too difficult to get it back to its original form pictured on the right.
The main tools which were used for this project were the magic wand tool as well as the clone stamp. The magic wand tool was used to get rid of the background on the puzzle, after a little bit of selecting the puzzle pieces were very easy to move around. After I put the pictures together I used the clone stamp to patch up some wholes left in the puzzle.
The main tools which were used for this project were the magic wand tool as well as the clone stamp. The magic wand tool was used to get rid of the background on the puzzle, after a little bit of selecting the puzzle pieces were very easy to move around. After I put the pictures together I used the clone stamp to patch up some wholes left in the puzzle.
Duck Selection
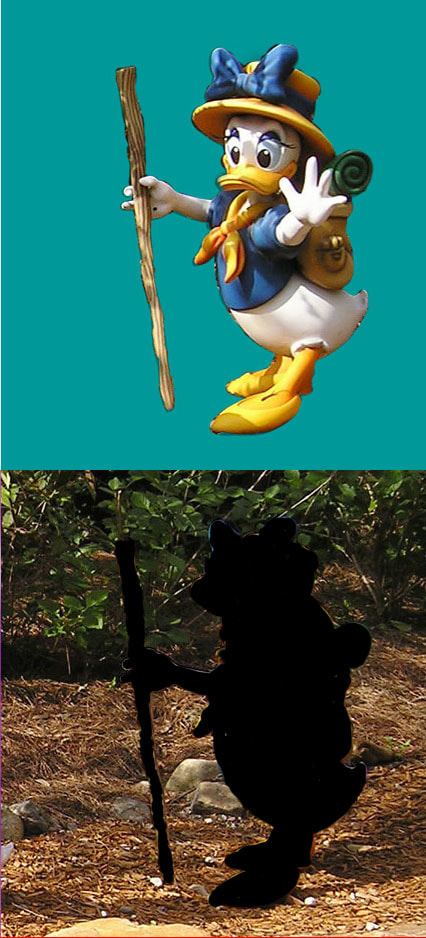
For our fifth minor project we were told to take the picture of daisy duck out of the image that she was originally placed in. As you can see the bottom half of the picture has a forest with a daisy duck whole in the middle, that was where she was originally placed. I then used the quick mask tool to get the outline of daisy duck and move her up to the top half of the screen
The quick mask tool was the main tool I used in creating this project. It made it very easy to take the outline of the daisy duck and then move her up on to the top half. My edges are not perfect as there were little pieces that may not have been picked up by the tool, however the quick mask was a great tool for this project.
The quick mask tool was the main tool I used in creating this project. It made it very easy to take the outline of the daisy duck and then move her up on to the top half. My edges are not perfect as there were little pieces that may not have been picked up by the tool, however the quick mask was a great tool for this project.
Burberry Coat
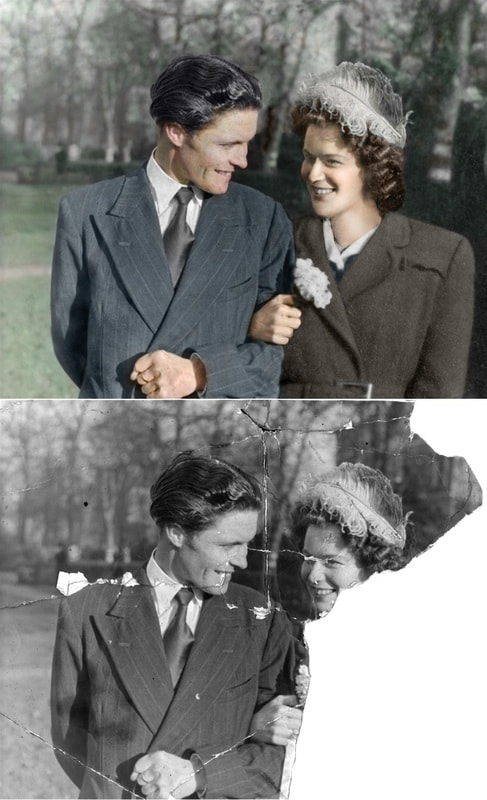
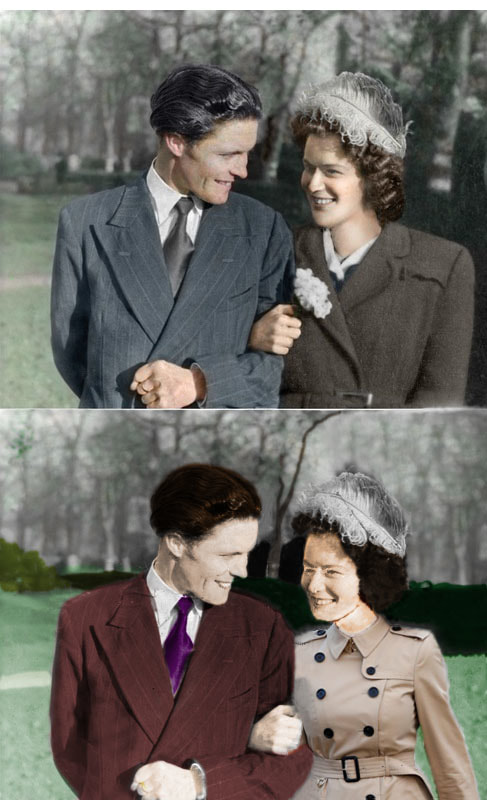
For our sixth minor project we were told to fill in all the tears in the picture on the first images bottom half and make it look similar to the picture above. As one can see on the second images bottom half that is the finished project. Many tools were used in order to complete this project in a way that it looks acceptable as a picture, this was definitely not easy. The main tool used was yet again the clone stamp as well as the paint brush.
The clone stamp helped move certain parts of the image to different places along the image, cloning it. The clone stamp definite help to finish the large tear that was in the bottom left image. After applying a new layer, you could use the paintbrush to paint over the gray image and add color to the image. This was very useful to make the image come alive.
The clone stamp helped move certain parts of the image to different places along the image, cloning it. The clone stamp definite help to finish the large tear that was in the bottom left image. After applying a new layer, you could use the paintbrush to paint over the gray image and add color to the image. This was very useful to make the image come alive.
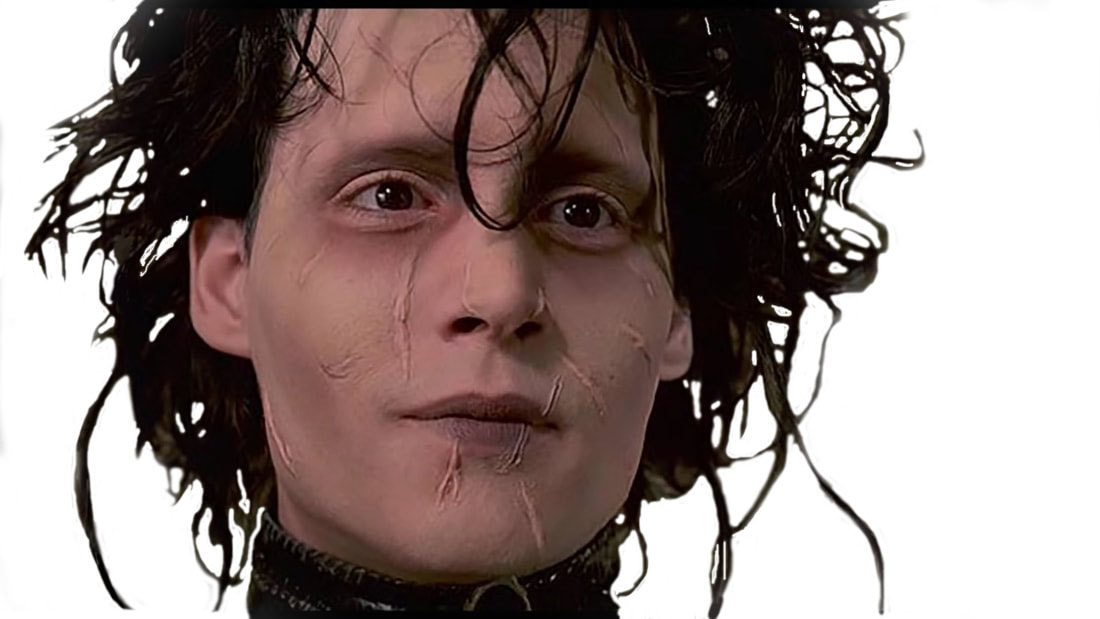
Edward Scissorhands

|
|
For our final minor project we were told to take the picture on the left of Edward Scissorhands and take his head and hair and move it onto another image. Now this was no walk in the park as it was very difficult to get almost every strand of hair from the left image to the right image. However, there was one tool that really helped in the completion of this project. The Quick Mask tool definitely hit the spot.
The Quick Mask tool made the whole screen red with the image of Edward lying under it, we were then able to erase all the red on the curtain parts of edwrd txt we wanted to be transferred on to the the image on the right. This was definitely no job for the Polygon lasso as it would almost be impossible to do it like that. The Quick Mask was perfect for this project.
The Quick Mask tool made the whole screen red with the image of Edward lying under it, we were then able to erase all the red on the curtain parts of edwrd txt we wanted to be transferred on to the the image on the right. This was definitely no job for the Polygon lasso as it would almost be impossible to do it like that. The Quick Mask was perfect for this project.
QUARTER 2
Mickey Mantle
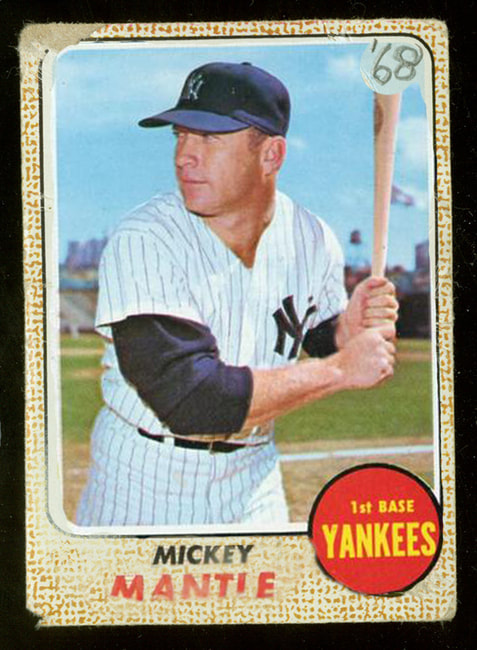
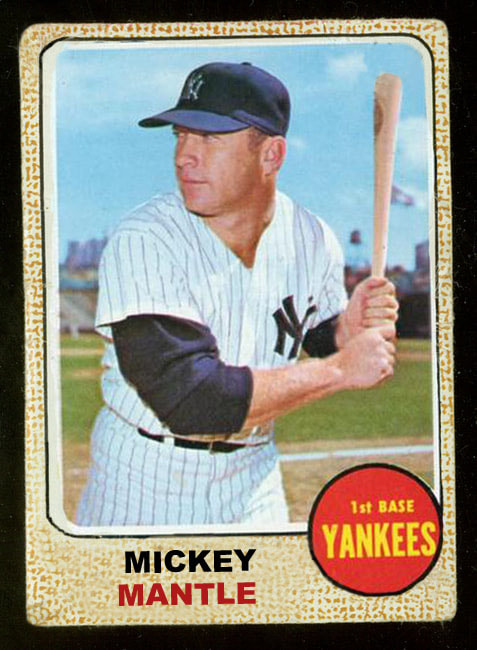
For our first minor project in quarter two we were told to take the image of the torn and scratched up baseball card of Mickey Mantle on the left and repair it into the nice and presentable baseball card pictured on the left. The tools in which we used for this relitivley simple project was the clone stamp and the text tool.
The clone stamp made things very easy to take the good parts of the card and move them around on to the scratched and torn parts. For example the background pattern on the card, the clone stamp helped make that pattern more pristine and nice. I used the text tool to make the Mickey Mantle on the bottom of the card more clear.
The clone stamp made things very easy to take the good parts of the card and move them around on to the scratched and torn parts. For example the background pattern on the card, the clone stamp helped make that pattern more pristine and nice. I used the text tool to make the Mickey Mantle on the bottom of the card more clear.
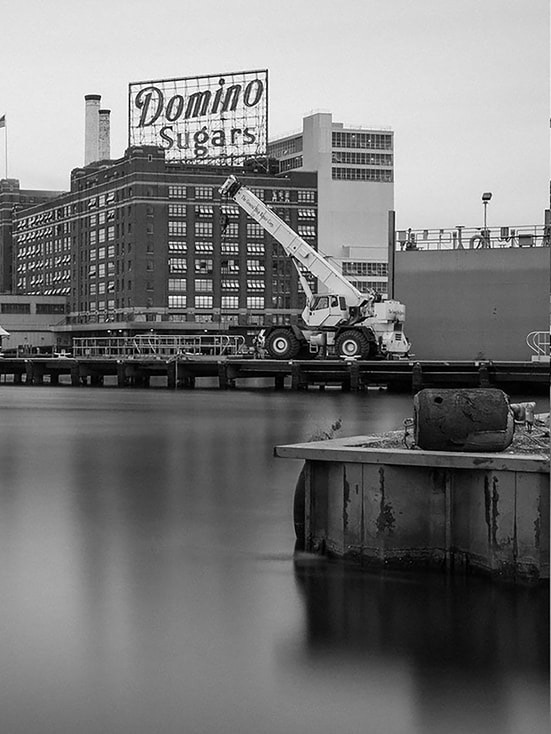
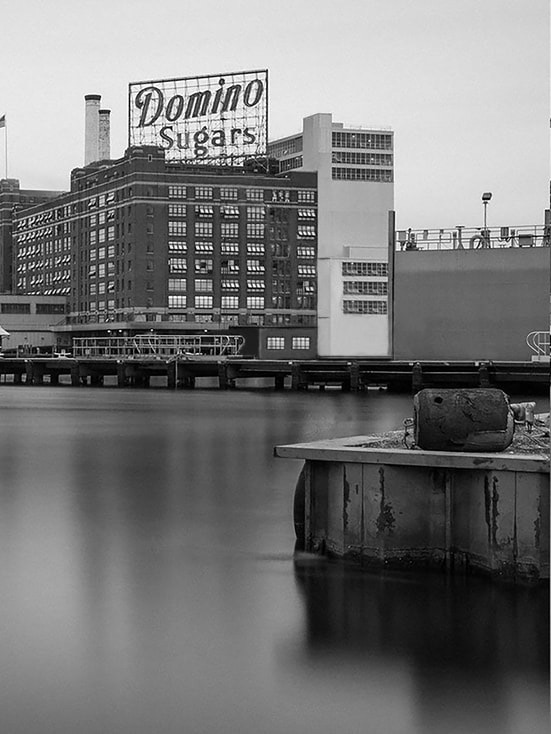
The Crane
|
|
For our second minor project for quarter 2 we were told to get rid of the crane imaged on the left picture. After a lot of clone stamping I was able to totally erase the crane from the image and try and make it look like that it was never there in the first place. Now this was a little tricky at first but the clone stamp was definitely a life saver and main tool used for this. It made it easy to move parts of the building over the crane and overall cover it up.
Illusion
|
|
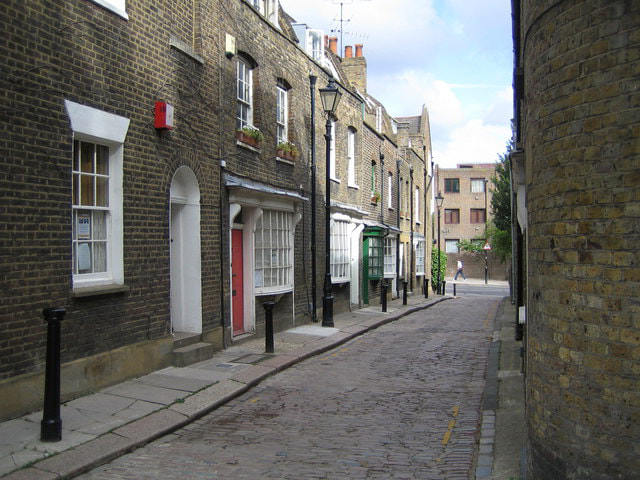
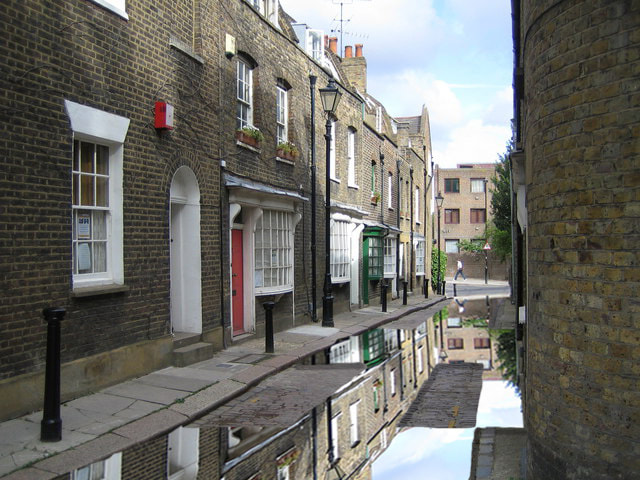
For our third project in quarter 2 we were told to use the first image and almost create this illusion for it, this was challenging. The first image (right) is simply a picture of a natural street way., but we had to change this. In the second image, pictured on the left, we were told to make an illusion. This was not an easy project and required a variety of tools t comprise the illusion.
We started by selecting the wall, then mirroring it and placing it under the original wall. There were many different things needed in order to complete this illusion, making a very cool image.
We started by selecting the wall, then mirroring it and placing it under the original wall. There were many different things needed in order to complete this illusion, making a very cool image.
Army Men
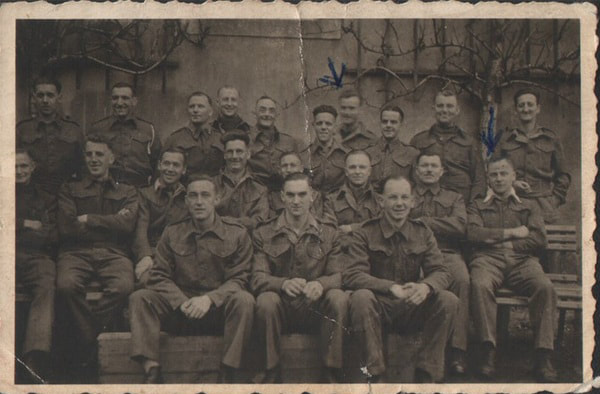
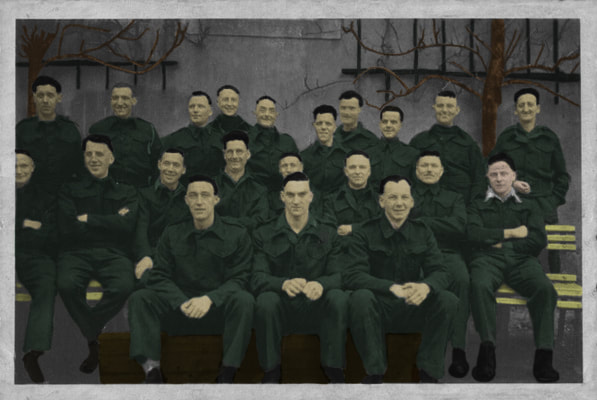
For our fourth minor project we were told to take this old and tattered picture of the army men(left) and turn it into a brand new colorful picture, free of blemishes (right). The two tools that were used for this project was the clone stamp and the brush tool. The clone stamp was used in order to get rid of tears and marker that is on the image. The brush was then used to color over the project making it look good as new!
Match
|
|
For our fifth minor project we were told to recreate/match the bottom left image from the top left image. This was a fairly simple project which created the image pictured on the right. The edges were definitely a little difficult and I did struggle a little with those. The main tools used for this were the clone stamp as well as the doge tool. The clone stamp was used in order to make the picture complete again and then the doge tool to lighten some parts of the image.
Wizard of Oz
|
|
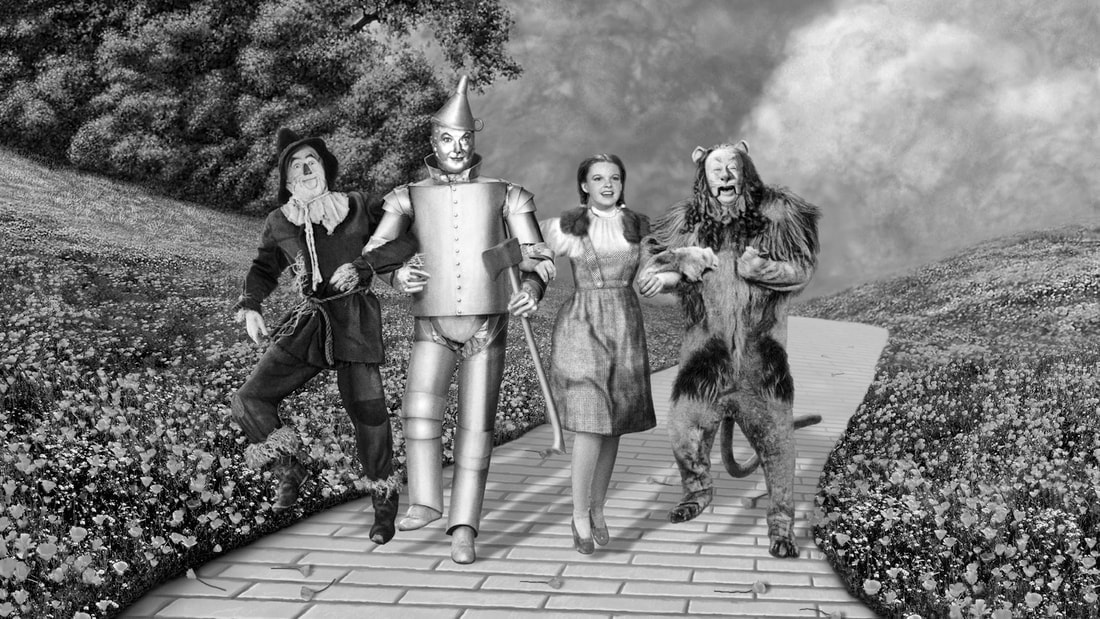
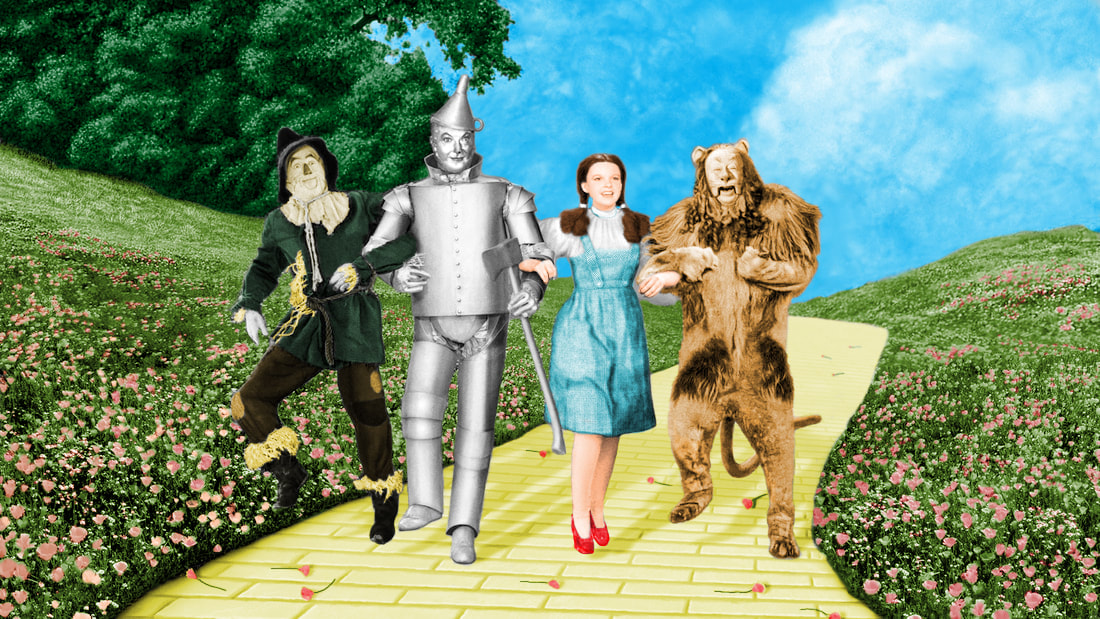
For our sixth minor project we were told to take the black and white picture of the Wizard of Oz Crew (right) and send them right to Oz by colorizing them (left).This was a very time consuming project and was not easy. It took many colors in order to create the final work, and lots and lots of coloring in. Overall this project was quite fun with the paintbrush tool and eye dropper you can get anything done!
Adobe Half Match


For our seventh minor project we were told to match the left side of the face with the right side. The image pictured on the left is the left side of the face before it was fixed to match the face on the right. In the image on the right is the left side of the face fixed to match the right side. This project required a whirlwind of tools, however the most used was the blur, doge, and burn tool. These were need to blend, lighten, and darken the face to its need.
Apple Background

For our eighth minor project we were told to make our own custom Apple Background/Screensaver. We would start by setting a solid background color and then making more circles of different shades, sizes, and opacities above it. The project was ended by adding a glare onto the screen creating the perfect apple background fit for any cool computer.
